 Reaper's routing matrix.
How do Reaper 5’s new VCA Faders complement the existing group and linking facilities?
Reaper 5 brought us a bunch of new tools, including the long-awaited VCA faders. Mike Senior touched on these when he outlined a cool relative-trim automation technique back in SOS May 2016 (http://sosm.ag/reaper-0516), but I’ve noticed more than a few users who remain confused about how VCAs fit into Reaper’s existing schemes for grouping and summing tracks. So this month, I’ll take you through Reaper’s various means of summing and controlling groups of tracks, and explain how VCA faders fit into that broader picture.
Busses
Busses, subgroups, auxiliary channels, sub-masters... They go by many names and are set up in different ways in different DAWs, but ultimately we’re talking about the same thing: a track which sums the output of several other tracks together. There are no specialised track types in Reaper — they’re all created equal — and to create a subgroup, you simply create a track and route audio to it using sends.
Let’s say you want to create a drum subgroup. Hit Cmd-T (OS X) or Ctrl-T (Windows) to create a new track, and name it something like ‘DRUMS BUSS’. (Incidentally, there’s an SWS extension action to select/deselect any tracks with ‘BUSS’ in the name, allowing you to create some cool custom actions!) Next, we want to route our drum tracks to this new track. We could assign each send manually, but it’s more efficient to use the routing matrix. To bring up the matrix select Routing Matrix (shown above) from the View menu, or use Option-R (OS X) or Alt-R (PC). Now it’s just a matter of assigning routing from the drum kit tracks to the bus track by clicking in the corresponding boxes. This is a little difficult to explain using the written word, but you can check out the screenshots and video (below) for a clearer example. You’ll also want to deselect the master send for all of the tracks you’re reassigning, otherwise the signal will go to the master fader twice, once directly and again via the subgroup track.
Folder Tracks
Reaper’s folder tracks are an interesting alternative to traditional busses. They simultaneously submix channels together (in the same way as a bus) and group those tracks visually in a parent/child arrangement.
To set up a track folder, create a new track and position it immediately above the tracks you want to group. Shift-click to select all those tracks, and click-drag them into the Track Control Panel (TCP) of your new track. The bottom tracks will shift to the right, denoting that they’re now the ‘children’, and the parent track becomes the bus through which the summed output of the child tracks will flow. You can use the little triangular button in the parent track to compact the view of the child tracks. That’s a really handy way to reduce clutter, although it does force a particular track layout in the arrange window. If you’d prefer to be able to freely move tracks around in the arrange window (eg. you might wish to place all your bus tracks together) you may prefer to use the previous bussing method. From an audio perspective, they’re basically identical.
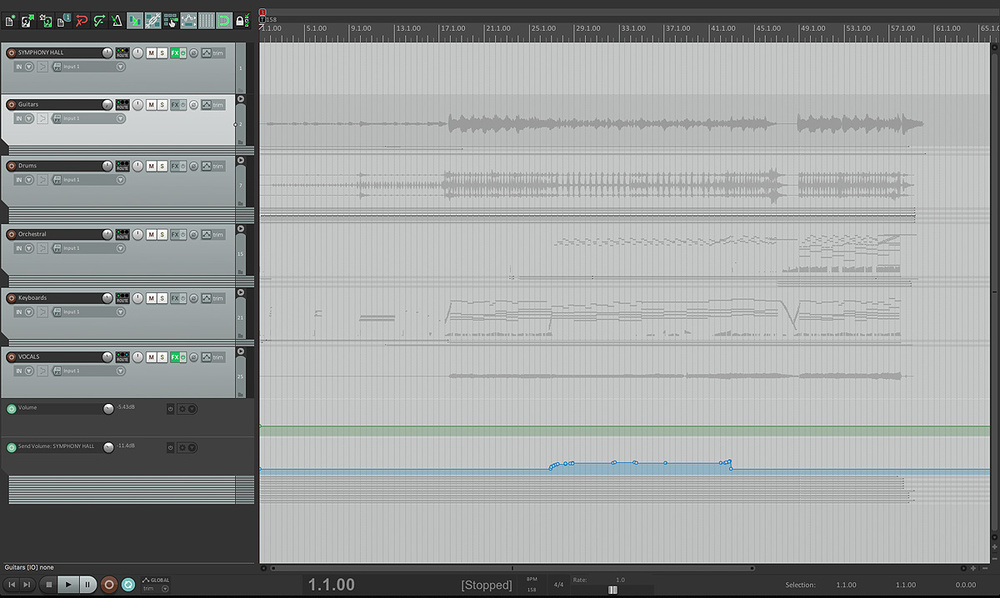
 Folder tracks: The bottom tracks will shift to the right, denoting that they’re now the ‘children’, and the parent track becomes the bus through which the summed output of the child tracks will flow.
It’s important to remember that you’re not actually controlling the child tracks together with either of these techniques, you’re just summing their output together and adjusting the summed signal. While that can be very useful in a mix, any post-fader sends you may have on your child tracks will stay open when you adjust the parent volume. So, for example, as you turn down the bus fader or folder parent on your drum kit, the snare drum reverb will stay right where it was, which will throw off your overall mix balance.
With that in mind, let’s consider some ways you can actually control multiple tracks simultaneously. The methods that follow don’t affect the signal routing at all, and that means they can co-exist with any weird and wonderful patching or routing you want to run. They’ll also avoid that issue with post-fade sends.
Ad-hoc Grouping
This is the simplest and quickest way to manipulate a bunch of tracks at the same time. Select one track, then either shift-click to select a range of tracks or Cmd/Ctrl-click to select additional individual tracks. Tweak a control on any of the selected tracks, and the others will all follow. This works with level, pan, mute, solo and pretty much everything else in the TCP. It’ll maintain the level relationship between the tracks too, so it works quite well if you want to tweak, say, the entire level of a multitracked drum kit without affecting the balance between the microphones, or the balance between the dry sounds and any post-fade sends. This approach is great for doing quick group-level adjustment early on in a mix, where you may not yet have more complex routing set up.
Track Groups
Barry Watson looked at Track Groups back in SOS July 2012 (http://sosm.ag/jul12-reaper), and I’d encourage you to visit that for more details, but here’s a brief recap. Track Groups allow you to set up complex and flexible controller relationships between tracks — the new VCA fader feature actually operates as a subset of the track groups feature, but let’s look at it more broadly first. Say we want to set up a parent drum-group fader, which will control all the drum tracks together. First create a new track and name it ‘Drum Group Control’ or similar. Then press Shift-G to bring up the Track Grouping parameters window, and tick Volume Master in the left column. Hit Close and then select all your drum tracks. Hit Shift-G again, and select Volume Slave in the right column, then click the Close button and you’re done. Adjusting this ‘parent’ fader moves all the ‘slaves’.
Of course, that’s a very simple example. You can use track grouping to set up control relationships for many other parameters, such as pan, mute/solo and automation mode. Tracks can be assigned as either master, slave or both on a controller-by-controller basis. So a track could be a volume master, a pan slave and ganged together with another for mute/solo. You can assign up to 32 different sets of grouping rules and tracks can be members of multiple groups. You can also set up reverse rules so that, for example, when you pan the master to the left, the slave will move to the right.
While you can do some pretty powerful stuff with track grouping, it does have limitations. For instance, slaves will only respond to direct manipulation of the controls on the master, not to their automation. If you record level automation on a master track, it will duplicate that automation on any slaves that might be assigned at that point. Not only does that make it very messy if you want to edit the automation later, but any new tracks subsequently added to that group will remain unaffected — if you were halfway through a mix and decide to add a tambourine to your drum group, its level would stay the same, ignoring any automation envelopes on the master.
 Grouping for 7 selected tracks.
VCAs
So, how can we get our slave tracks to respond to existing automation on the master? The answer is the new VCA faders. VCA stands for Voltage Controlled Amplifier, and back in the analogue days it was basically a gain control that was regulated by a control voltage. The higher the control voltage coming in, the more it would open up the gain control and let signal through. Of course there’s no voltage in a DAW, but the workflow and result is the same.
The VCA master fader position governs the output of the slaves. It won’t actually move the slave faders (and won’t write a bunch of messy duplicate automation data), and the controller will be applied to any new slave tracks that are assigned to that VCA group. The process for enabling VCA control is basically identical to the track groups example, except rather than selecting Volume Master and Volume Slave, you tick VCA Master and VCA Slave.
Hopefully that helps with a basic understanding of the different summing and grouping methods. Be sure to check out the video accompanying this article as some of these ideas are a lot clearer once you can see them in action!


