 Photo: B E Merrill, CC BY 30 via Wikimedia Commons
Does your guitar sound dull and lacklustre through your pedalboard? Here’s how to side‑step the tone‑suck trap.
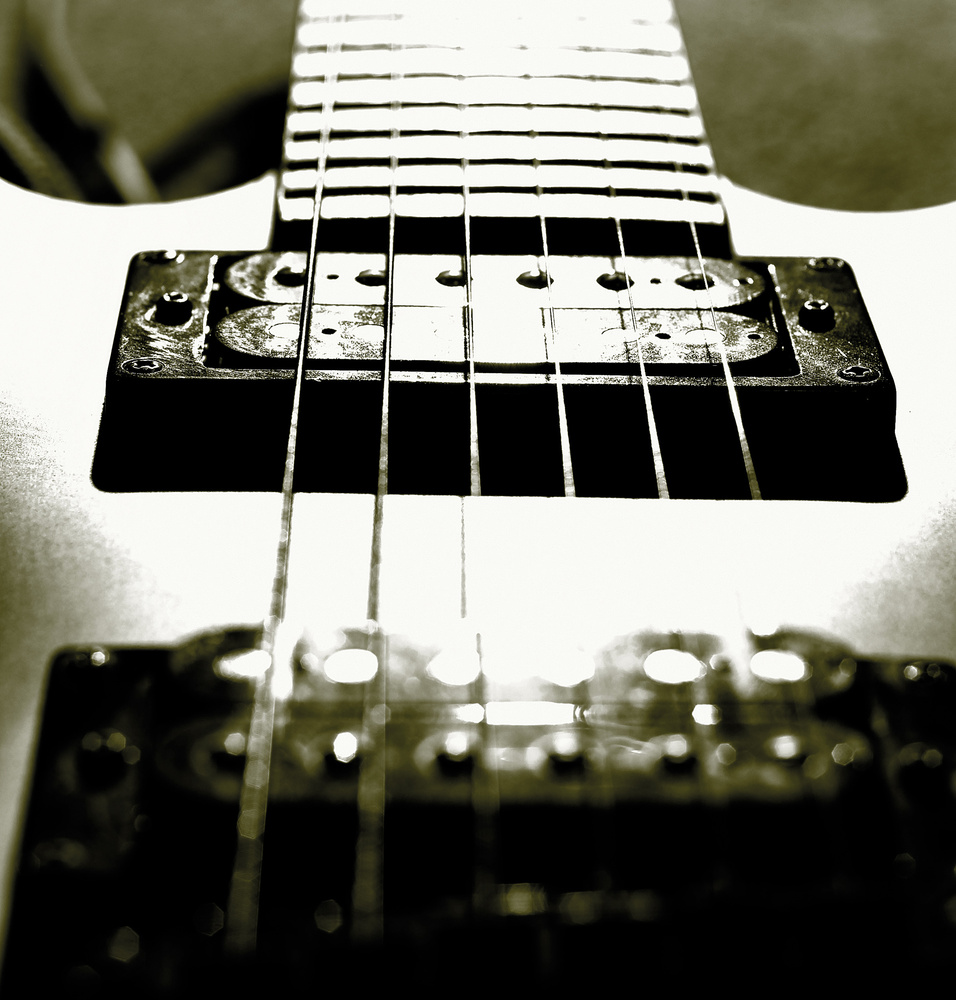
Most electric guitars are still based around primitive magnetic pickups and use passive, WW2‑era radio circuitry to control the volume and tone, so it’s little wonder that the sound they produce varies according to what you plug them into! If you want to get control over your sound, then, you need to understand a little about how your guitar and amp — and anything you put between them — interact. It’s largely a question of the impedances involved, but it’s important to note that impedance is more complex than resistance; the combination of resistance, inductance and capacitance makes the impedance change with frequency.
Impedant Swine!
The higher the input impedance of the device you plug you guitar into, the lower the current required to drive it. If an input impedance is resistive and too low, it ‘loads’ the circuit, reducing the level. As it is in parallel with the output circuit of the guitar, it may also affect the tone. The output impedance of an electric guitar is usually a few kΩ — the specific value is determined mainly by the impedance of the pickup coils — so most guitar amps present a much higher input impedance than that, typically from 500kΩ to over 1MΩ. This ensures that the amp doesn’t unduly load the signal produced by the guitar, and it’s why plugging you guitar directly into a nice amp generally makes it pretty easy to set up a pleasing sound, with plenty of life and responsiveness.
But your guitar and amp are never the only things in the signal chain: at the very least, there will be a cable and you might use pedals too. Both change this relationship between guitar and amp, and it’s not at all uncommon for people to notice that their guitar tone becomes considerably duller and less ‘vital’ when using long cables or lots of pedals. This unwanted effect is often described as ‘tone suck’.
Cable Capacitance
While it’s probably a healthy thing to approach cable companies’ marketing claims with a good dollop of skepticism, all guitar cables do have a significant effect on the sound, even when plugging directly into an amp. That’s because the close proximity of the ‘hot’ inner conductor and the outer screen makes the cable function as a capacitor. If the cable’s capacitance is too high it will dull the sound, since high frequencies pass through capacitors to ground more easily than low ones.
 A guitar cable’s capacitance is determined both by its construction and its length. The longer the cable, the greater its capacitance — and the more likely it is to dull your tone.Different cable types can have different capacitances; as with a conventional capacitor, the cable’s capacitance is determined by the ‘dielectric’ and the space between the centre conductor and the screen. But just as important is that, all other things being equal, the longer the cable is, the higher its capacitance will be, and the more noticeable the high‑end roll‑off.
There’s more going on here than low‑pass filtering, though. The inductance of the pickup coils in parallel with the capacitance of the cable and the self‑capacitance of the pickup forms what is, in effect, a tuned circuit with a resonant peak. It’s not a really strong resonant peak such as you’d hear from a wah‑wah pedal, but it is strong enough that it imparts a distinct tonality. Most high‑end pickups are designed so that the coil inductance and self‑capacitance of the pickup, when loaded by the volume and tone controls, produces a pleasing sound. But plugging in your ‘cable capacitor’ moves the resonant frequency down.
So is there an optimum cable capacitance? Not really! It’s all about what sort of sound you prefer. Sometimes, a modest amount of cable capacitance can be pleasing, especially if a particular guitar‑amp combination is too bright and ‘glassy’ for your tastes. If the cable capacitance is too high, though, that carefully calculated resonant peak will move low enough that you perceive a distinct loss of treble: the dreaded ‘tone suck’. With all this in mind, it’s worth trying out low, medium and higher‑capacitance cables with your own guitars and amps and listening for the differences. If you plug into an amp directly, simply choose what you feel is the best‑sounding cable for your guitar and that amp, and you’re done. If you have a range of guitars and amps to play with, it might be worth investigating products such as Undertone Audio’s VariCap, in essence a low‑capacitance cable that incorporates a switch to increase the capacitance to taste.
...it might be worth investigating products such as Undertone Audio’s VariCap, in essence a low‑capacitance cable that incorporates a switch to increase the capacitance to taste.
Taking The Bypass
Once you get into the murky worlds of stompboxes and radio transmitters (for more on the latter, see the box), the rules change. Before we take a closer look at the effect of the pedals and patch cables, though, I’ll stress that you should ensure you’re using a good‑quality pedalboard power supply, with isolated outputs capable of delivering at least as much current as each pedal requires. Some of the cheaper PSUs that claim to have isolated outputs actually don’t, and if you hear hums, buzzes or digital whining noises, even with your guitar volume turned right down, the PSU is probably to blame.
More pertinent to ‘tone suck’ is what happens when you bypass your pedals. Today, almost all pedals (there are exceptions, as I’ll explain later) use one of two main approaches: buffered (active) or true bypass (hard‑wired), and a handful now allow you to choose which type you prefer. You might suspect that a hard‑wired bypass would give you the truest tone: what harm could a short stretch of wire do to your signal? Well, if you have only one or two pedals in the signal chain, you might be right. But once you put together a moderately busy pedalboard you’ll have lots of short jack cables in series, lots of plug/socket spring contacts, and the cumulative effect of any stray capacitance that occurs from the wiring inside the pedals. On top of that, you’ll be adding a second, longer cable to connect the pedalboard to the amp. If all your pedals are hard‑bypass types, the capacitance added by all that extra cabling and internal wiring, plus the contact resistance of all those plugs and sockets, can easily compromise your tone.
Something you can do to mitigate this is always to buy (or make) good‑quality, low‑capacitance patch cables and keep them as short as possible; the cheaper moulded types often sound significantly worse than decent cables.
If hard‑wired bypass pedals can cause problems, presumably buffered pedals are best? Erm, not necessarily!
Buffer: The Amp Ire Slayer?
OK, so if hard‑wired bypass pedals can cause problems, presumably buffered pedals are better? Erm, not necessarily! A buffer is intended to do two things: (a) present your guitar with a high enough input impedance to keep it sweet; and (b) provide a very low output impedance, so that long cables or other pedals don’t cause too much treble loss. A good buffer circuit should be tonally transparent, though some dedicated buffer pedals are deliberately designed to inject a little preamp‑like mojo too. A further benefit of buffered bypass pedals is that they can be designed to provide click‑free switching; many hard bypass pedals, especially vintage examples, suffer from switching clicks.
If all your pedals have a hard‑wired bypass, placing a dedicated buffer pedal at the start of the chain is definitely a good idea. It’s OK to mix buffered and hard‑wired types too, but it will help preserve your tone if you place either a good‑quality buffered bypass pedal or a dedicated buffer at the start of the chain. Any buffer with a very wide audio bandwidth, low noise and low distortion should sound suitably transparent. If you already put a tuner pedal at the start of your signal chain, you may find this has a perfectly serviceable buffered bypass (check its manual to find out), in which case you probably won’t need a separate buffer.
 Vintage fuzz pedals such as the Dallas Arbiter Fuzz Face generally sound much better placed immediately after the guitar, before any buffer stages.The main problem when using multiple buffered‑bypass pedals is that they’re not all created equal; not all are as transparent‑sounding in bypass mode as we’d like them to be. None should sound completely terrible but, most likely, you’ll hear at least some kind of tonal change and maybe some added noise too, and cascading multiple buffers of the type you get in most pedals typically leads to both low and and high‑frequency roll‑off, and a general muddying of the sound.
To complicate things further, some pedals work better when connected directly to the guitar, without any buffer in front of them. Vintage fuzz boxes based on germanium transistors (such as the Dallas Arbiter Fuzz Face) are notorious for this, so make sure you place these right at the front of the chain, before any buffer pedal, and before any tuner with a buffered output. If you want to put that sort of effect later in the signal chain, after a buffer, you might be better off using a more modern fuzz/distortion.
 Not all buffer pedals are created equal but before you rush out and buy one to place at the start of your signal chain, you could check to see if your tuner pedal is already up to the job.Photo: Starman1984, CC BY‑SA 30 via Wikimedia CommonsAnother quirky device is the passive volume pedal, whose pot resistance is placed in parallel with the impedance of the rest of chain, effectively lowering it. If that pot value is below 1MΩ the loss of top end can be very noticeable, so a passive volume pedal should ideally be placed after either a buffered bypass pedal or a dedicated buffer pedal.
Finally, it’s worth noting that while the two main approaches to bypass discussed above are by far the most common, some old‑school pedals adopt a third approach: they still use mechanical switching to connect the input directly to the output but leave part of the circuit connected, and this has the effect of loading the bypassed signal. Such pedals usually benefit from being placed after a buffered device.
The Shortest Path
Given all this, you might expect that you’d obtain the cleanest results by first chaining only hard‑wired bypass pedals, and then placing high‑quality dedicated buffer pedals at both the start and end of the chain. You don’t choose pedals for their bypass characteristics alone, though, and most practical pedalboards, mine included, will comprise a mixture of both types of pedal. So, other than putting a good‑quality buffer at the start of the chain — which won’t solve everything — what can you do?
When recording in the studio, you can probably get the best tone by patching together only the pedals you need to achieve a particular sound directly. If you already have a separate buffer pedal, try that at the start of the chain too (unless using one of those antique germanium fuzzes or a clone); it might help support your tone.
The miinimalist approach is less likely to be viable on stage, where you’ll often need to bypass different pedals for different tracks. A more serious option, for stage and studio, is a dedicated pedal switcher. Many of these use reed relays to give you the cleanest possible path through a chosen set of pedals, regardless of whether they have a buffered or a hard‑wired bypass. Most switchers allow you to save patches, too, which not only remember your active pedals but also allow you to change the order in which they’re connected. Many have buffers built in, both at the input and the output, which you can place in or out of circuit as required. Having a good buffer on the final pedal’s output will often help if you have a long (so high‑capacitance) cable running from your pedalboard to your amp. The only real downside of switchers, other than their cost, is that they take up space on your pedalboard.
 If you use lots of pedals, a dedicated switcher can help to ensure the effect of bypassed pedals on your tone is minimised. And always be sure to use short, good‑quality patch cables, to keep capacitance to a minimum.
A less costly alternative is to add one extra pedal to your board: a passive bypass switch that connects the input of your pedal chain (or just the offending section of it) directly to the output, bypassing everything in between. If you’re handy with a soldering iron you can make your own using a double‑pole, double‑throw (DPDT) foot‑switch, or a three‑pole switch if you want to add an LED. This will ensure that when you just want the sound of your guitar plugged directly into your amp you’ll get it.
Purism aside, it may still be worth putting an input buffer before the bypass switch, as it will prevent your pedalboard‑to‑amp cable dragging down your tone when the pedals are bypassed. In theory, you shouldn’t need an output buffer at the end of the pedal chain: whenever one or more pedals are active the pedal’s own circuity should be capable of driving a length of guitar cable, and when all are bypassed the input buffer will drive the cable.
In theory, you shouldn’t need an output buffer at the end of the pedal chain: whenever one or more pedals are active the pedal’s own circuity should be capable of driving a length of guitar cable...
Some pedals have oddly designed output stages that can be affected by the load they run into, so let your ears decide whether you also need an output buffer. To do that, keep comparing the sound of your bypassed pedals with that of your guitar plugged straight into the amp. The aim is to get the two sounding as close to each other as possible. If a crucial pedal has a particularly nasty bypassed sound, hook it up to the type of hard‑wired bypass footswitch I described just now; leave the pedal active all the time and use the footswitch to bring it in and out of the chain. Sometimes a hard bypass switch will introduce small switching clicks, but that’s preferable to a permanently mangled tone!
Tonal Takeaways?
Tackling tone suck can seem challenging because multiple factors can contribute to it. But you can break the task down to more manageable stages. A good start is to ensure you use good‑quality cables and a decent pedalboard PSU. Next, audition each pedal individually, to judge whether its bypassed sound matches the sound of your guitar plugged directly into the amp. Then patch all your buffered‑bypass pedals together in series and see if you can hear the cumulative effect when all are bypassed. If you can, a physical switcher may be the only truly effective solution. But you can also see if connecting your pedalboard to your amp using a very short cable sounds better than with your usual cable. If it does, that indicates that an output buffer as the last stage in your chain might work well, along with a better‑quality, lower‑capacitance cable.
Nobody said it would be easy, but an afternoon’s detective work could improve you guitar sound forever.
Radio Transmitters
 Since a cable’s length influences its capacitance and thus the guitar tone, it’s worth noting that guitarists who use radio systems will generally plug into the transmitter using a very short cable. Such a cable will inevitably have much less capacitance than a typical full‑length guitar cable so it can serve to brighten the sound, and sometimes excessively.
Some radio systems include what they call cable capacitance emulation, but even where it is implemented I’ve only seen it in the receiver and, if you think about it, while you can shave off a little high end that way, you can’t change the resonant peak of the pickups. To do that, you need to add capacitance at the transmitter end.
Using your usual, longer cable would probably defeat the point of using a wireless system but if you prefer that sound you can replicate the effect by putting a small capacitor across the jack plug contacts of your short radio‑link cable; if you choose a roomy jack plug you should be able to get the capacitor to fit inside. A typical traditional guitar cable (there are specialist low‑capacitance types available too) has a capacitance of around 100 picofarads per metre — so if you usually use a standard 5m cable you’d need to add around 500pf to make it sound similar. If the resulting sound is too dull, reduce the capacitor value and try again. My own ‘radio cable’ is fitted with a Neutrik TimbrePlug, a TS jack plug that has a set of switchable capacitors built in — it’s a very neat solution and it’s not too expensive!